|
how to use this space
Connecting to TeamSpace
1. If you don't have a wireless connection, plug one of the available
ethernet cords into your laptop
2. First-time users only:
Download software
Decompress the downloaded software. You can choose to what location you would like the software to be decompressed. The software does not need to be "installed," just decompressed.
3. Create a shortcut/alias on your desktop/dock if you wish
4. Remember to either disable firewalls entirely, or keep them running but
enable ports 80 and 29892-29899. For instructions on how to disable or modify firewalls, see our firewalls document.
5. If the two big screens appear to be off, move around the mouse that is
connected to each computer to wake it up.
6. On your own computer, double-click the TeamSpot™ icon to start.
7. In the TeamSpot client, click on Join to contact the TeamSpace host. It should already be configured to connect to the Meyer TeamSpace.
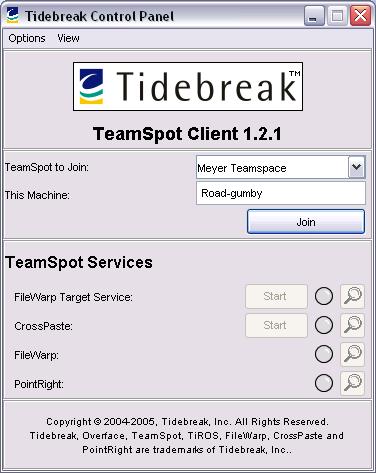
8. Enter the verification code displayed on the TeamSpace display to join the session.

Using TeamSpace's Functions
1. Share documents and URLs by
dragging the icon into the TeamSpot window in the upper right (which will expand the
buddy list showing all machines connected to your space) and dropping over
the destination machine name.
You may display files on the public desktop by dropping
into Teamspace-left (left screen) or Teamspace-right (right screen). Right
now, you cannot drag-and-drop or copy-and-paste across screens,
nor can you drag entire folders/multiple files at a time.
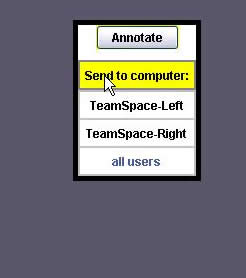
2. Share documents with specific individuals by dragging and dropping icons over the user's name.
3. To gain control of the group screen, push mouse
pointer up beyond the top of laptop screen.
The pointer will reappear on the left big screen. From here,
push mouse right and it will reappear on the right big screen.
4. When finished, remember to save work to individual
laptops, then logout on the group screen and unplug laptops.
|